A working speaker for under £20 of parts
Built around an LM386 audio amplifier chip, with volume and gain controls, a 9 V battery and a 3.5 mm input, so any phone, iPod or laptop could plug in.
Start with problems I actually had
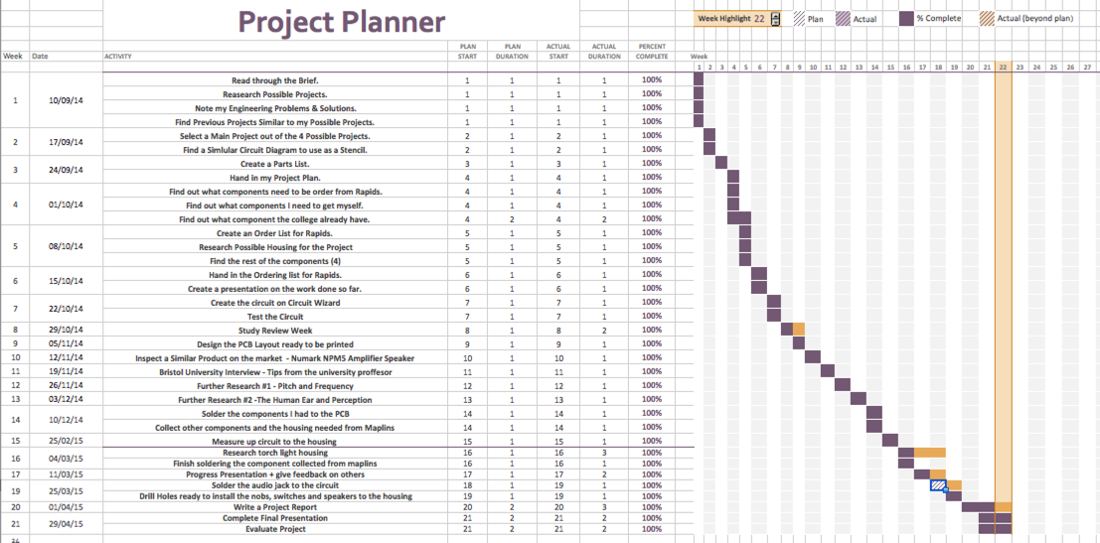
In week one I listed four everyday problems and a possible fix for each: dishes left unwashed, a fridge door left open, a phone speaker too quiet, and a phone battery dying away from a plug. I looked at how others had solved each one in maker communities online.
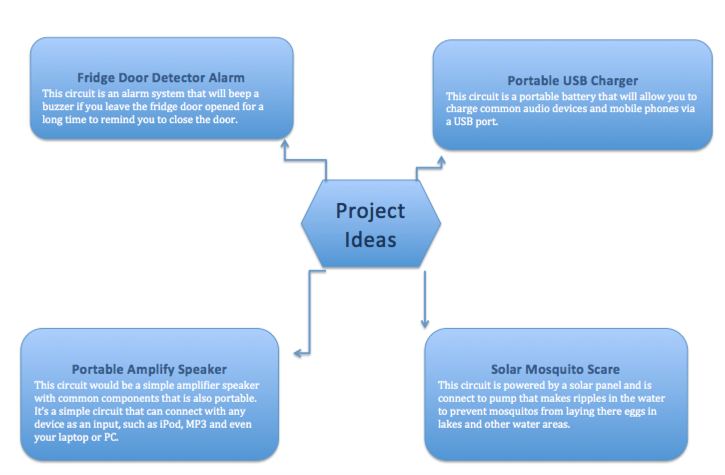
I chose the speaker. It met the brief with the most components, and it was the problem I hit most often.
Take the competition apart
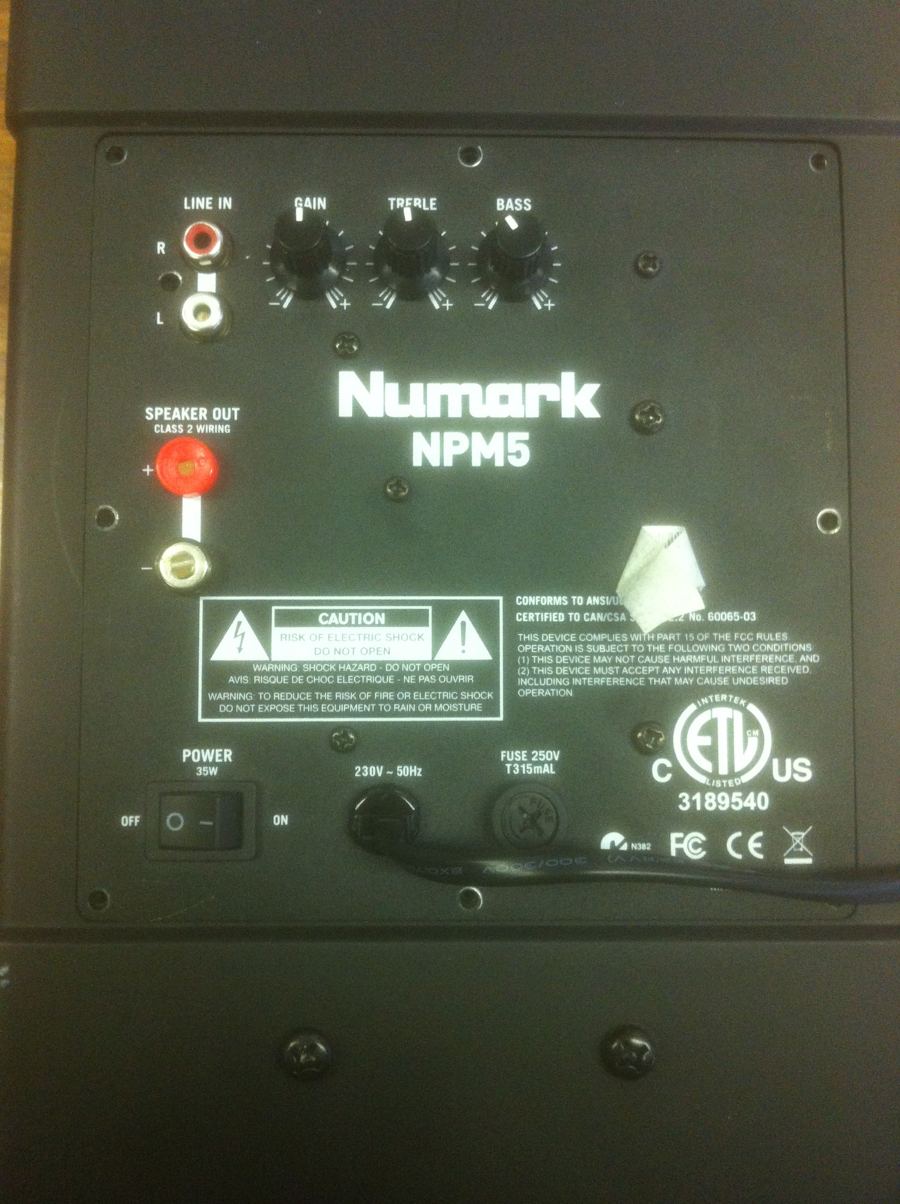
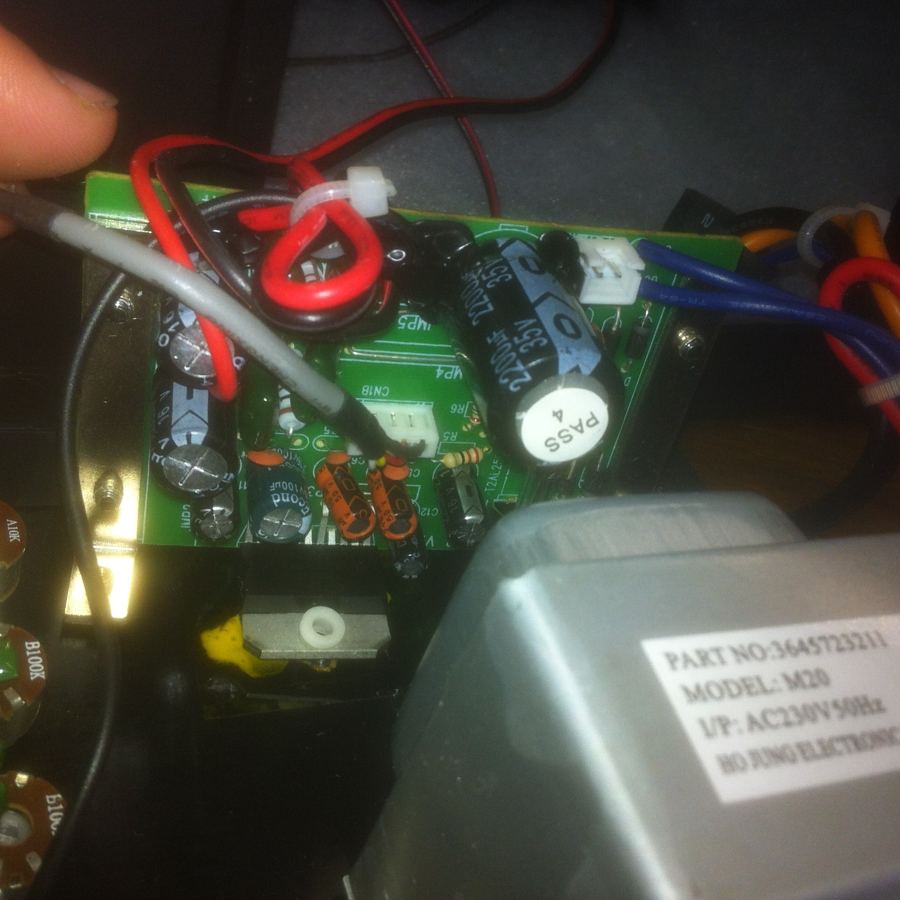
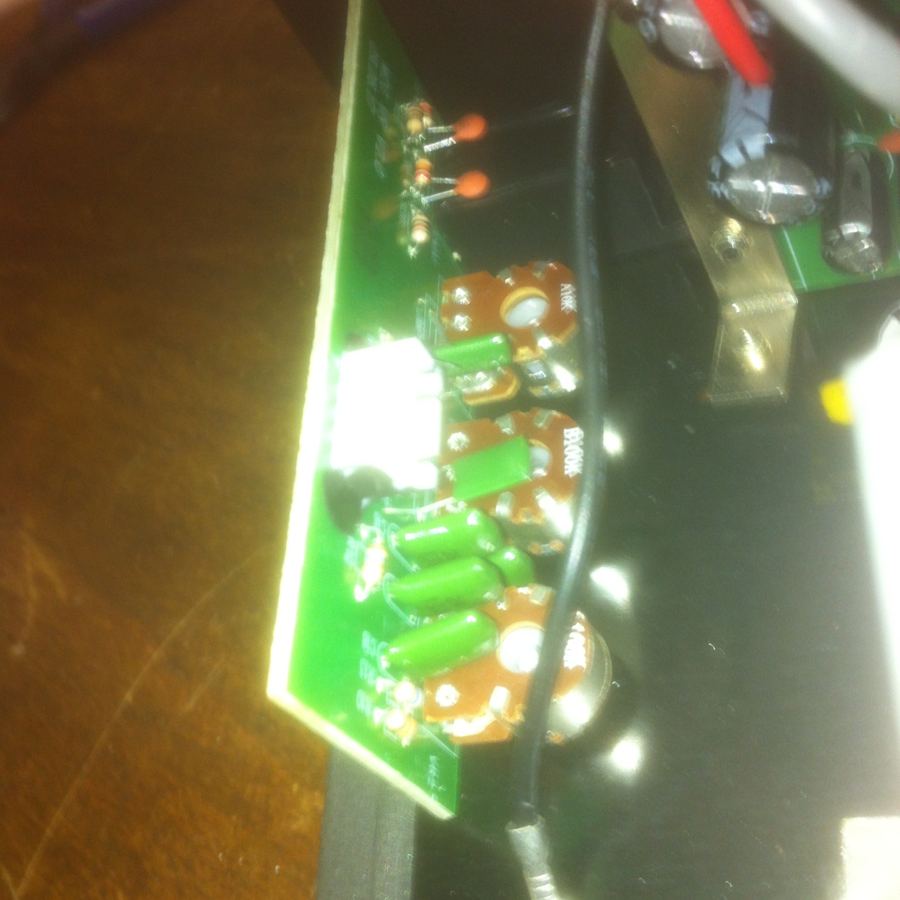
To see how a commercial product did it, I opened up a Numark NPM5 studio speaker and studied its amplifier boards. I also read up on how sound works: frequency, pitch, and the 20 Hz to 20 kHz range people can hear.
Simulate, lay out, solder, adapt
- Simulate first
I built the circuit in Circuit Wizard and designed the PCB from it, so mistakes showed up on screen, not on the board.
- Source the parts
I priced a full parts list for £16.79. When part of the order didn't arrive, I bought the missing parts locally instead of waiting.
- Build and test
Hand-soldered through-hole parts on the PCB, then drilled the case for the knobs, switch and speaker.
- Adapt the design
Two speakers wouldn't fit the case, so I went back to one. I also wanted to put it inside a torch body; the board was too big, and I wrote down what I'd shrink for production.
How I'd make it for real
For one prototype, hand-soldered through-hole parts were cheapest. For mass production I planned surface-mount parts, a smaller multi-layer board and machine assembly, to make it more portable and competitive. I also pitched it honestly: not the best speaker on the market, but a "good enough" one for people saving money, like me.
The same loop I run today
Then → Now
Then: A weekly diary of every decision. Now: written handovers after every build session.
Then → Now
Then: Took apart a rival speaker. Now: competitor teardowns of platforms, from Spotify to creator marketplaces.
Then → Now
Then: A device to make music louder. Now: products that help music be heard.